Yay, I am back!
I have been doing lots of things and sharing very little as usual. Trying to get into the habit of posting my work, I will try to do this frequently.
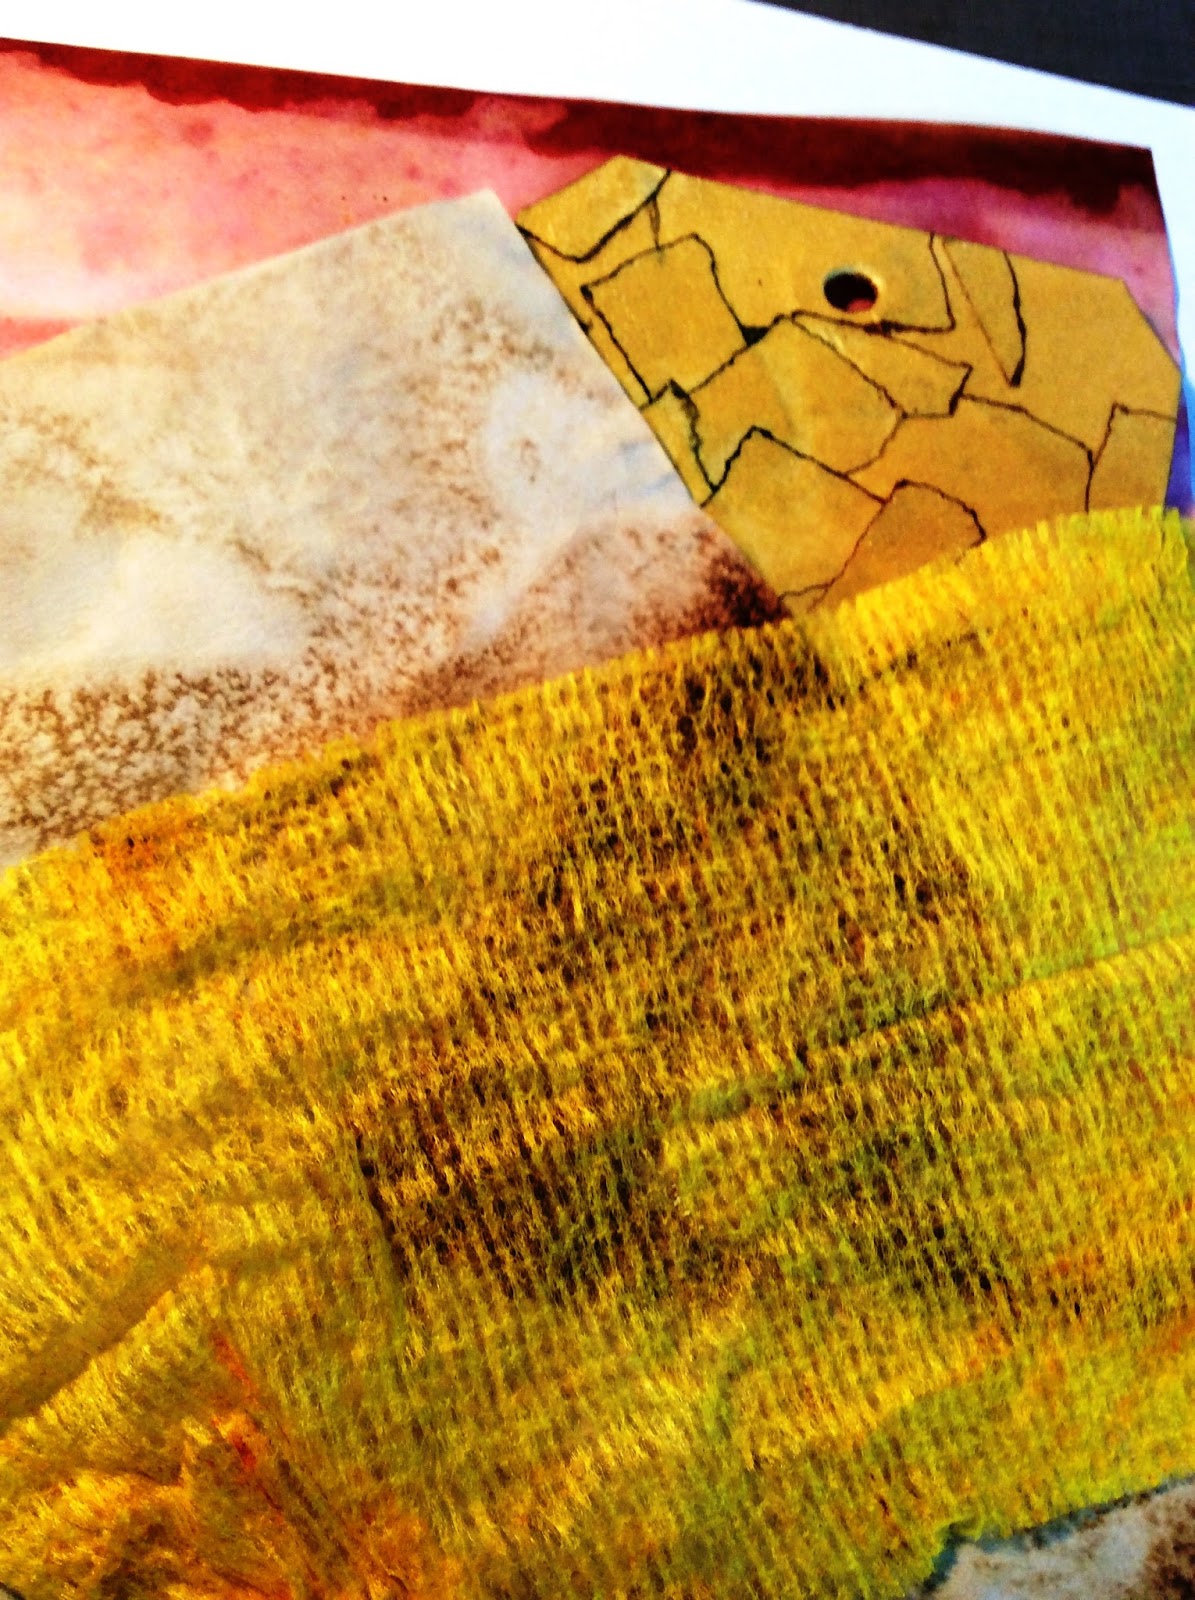
Recently I took part in an event called Epiphany by Jolene Payne in the Facebook group called Live Art Journaling and Self Developing, a wonderful mixed media community.
!0 days of working 10 minutes on 10 cards, sounds easy, but it was a challenge.
I love the finished product and made a little book.
I have been doing lots of things and sharing very little as usual. Trying to get into the habit of posting my work, I will try to do this frequently.
Recently I took part in an event called Epiphany by Jolene Payne in the Facebook group called Live Art Journaling and Self Developing, a wonderful mixed media community.
!0 days of working 10 minutes on 10 cards, sounds easy, but it was a challenge.
I love the finished product and made a little book.
 |
| Day 1 |
 |
| Day 2 |
 |
| Day 3 |
 |
| Day 4 |
 |
| Day 5 |
 |
| Day 6 |
 |
| Day 7 |
 |
| Day 8 |
 |
| Day 9 |
 |
| Day 10 |


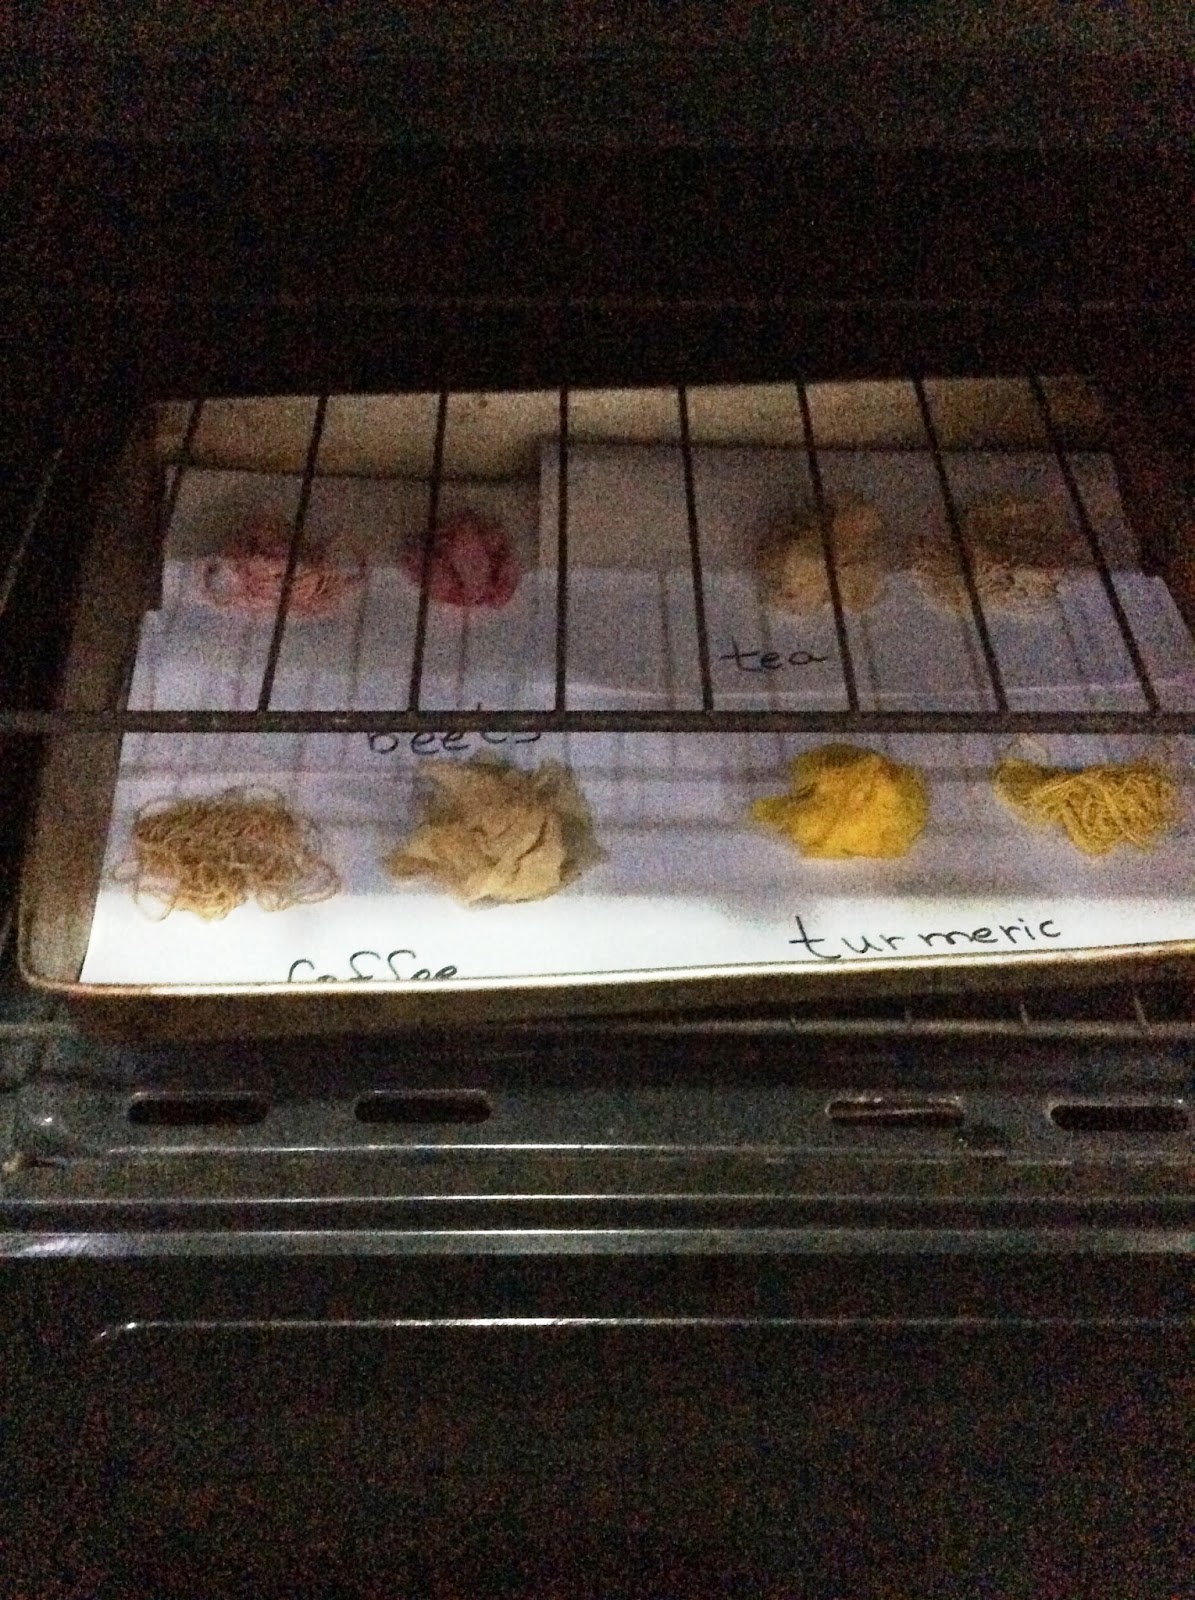
Mediums used:
Deco Art Media Gesso, Gel Medium, Dyan Reaveley Dylusions Paint, Golden Paints, Caran d'Ache Classic Neocolor Water-Soluble Pastels, India Inks, Pigma Micron Pens, Sharpies, Pen-Touch gold pen, Kuretake Clean Color Real Brush Watercolour Brush Pens, Sakura Gelly Rolls, Permapaque Marker, Tombow PencilWashi Tape, Canson Watercolor Paper ( 140 pounds, 300g), AMACO Rub n' Buff Wax Metallic Finish - Antique Gold and Krylon Workable Fixatif Clear Spray.
I hope you like it, because I love it.
Thanks for the visit!
Love,
Julia