Hi there!!
I have been having fun in my studio.
Today I'm sharing a tutorial for a tag featuring images from the Mixed Up Merchandise Etsy Store.
Supplies:
- #8 Manila Tag
- Masking Tape
- Distress Ink (Walnut Stain, Vintage Photo, Mustard Seed and Peele d Paint)
- Distress Marker (Weathered Wood)
- Distress Stain (Tarnish Brass)
- Distress Glitter (Tumble Glass)
- Distress Stickles Rock Candy
- Ranger Glossy Accent
- Fiber
- Idea-ology Ring Fasteners
- Stained Cheese Cloth (see Tutorial HERE)
- Stained Paper (see Tutorial HERE)
- Staples
- Sequins
- Scotch Wrinkle Free Glue Stick
Images:
Process:
 |
| Cover the tag with pieces of masking tape. |
 |
| Trim the borders. |
 |
| Cover the tag with Distress Inks. |
 |
| Make sure that all the tag is covered. |
 |
| Use a paper towel to remove the excess ink, that way all the borders of the tape will stand up. |
 |
| Cover the tag with Distress Stain, this adds more contrast to the tag. |
 |
| Color the wings with Distress Marker. |
 |
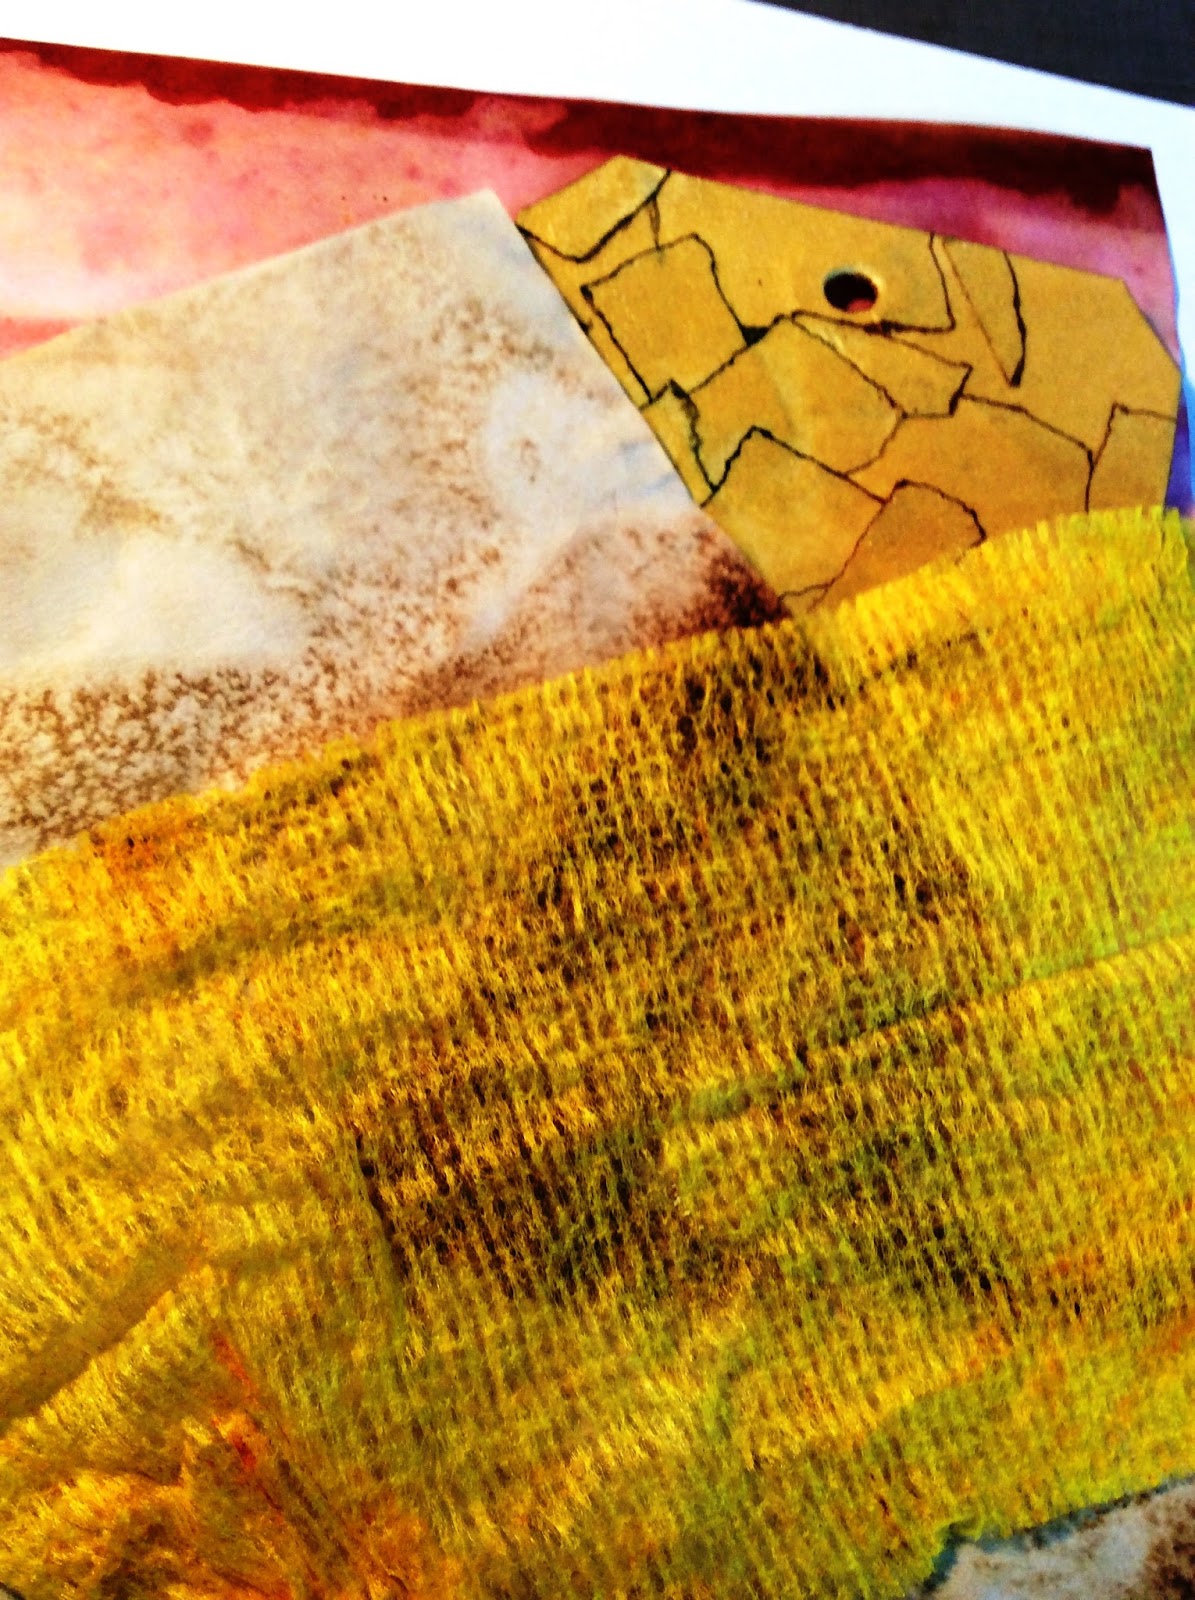
| I used stained Turmeric Stained Cheese Cloth, Beets and Coffee Stained Paper (Follow this LINK for the How To) |
 |
| Distress the edges of the game pieces. |
 |
| Add Distress Ink to age the pieces. |
 |
| Add the stained paper to the bottom of the tag and staple the stained cheese cloth to it. |
 |
| Cover the wings with Distress Stickles. |
 |
| Add the Distress Glitter while the wings are wet. |
 |
| Assemble the pieces. |
Details:


No comments:
Post a Comment